Tuesday, December 7, 2010

Sourdough Whole Spelt Herb Buns


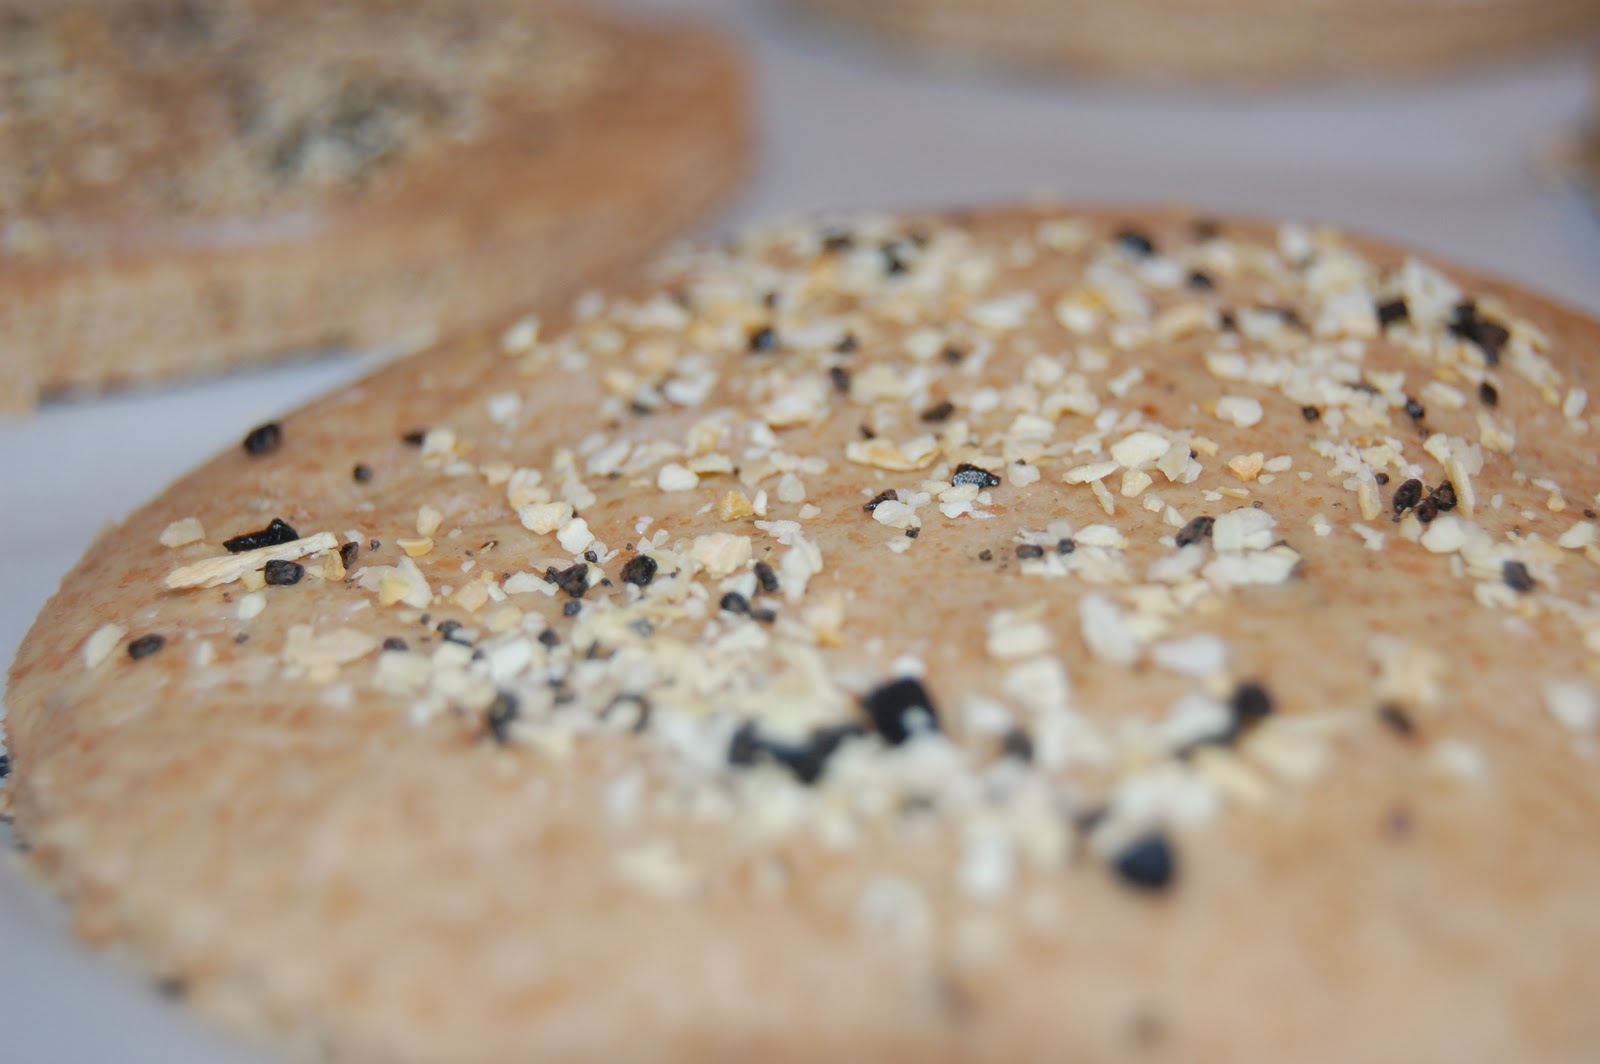
For Thanksgiving I made some very similar sourdough spelt herb rolls, however these are made with whole grain spelt and have no white flour. Please see that post for more detailed instructions. I like these a whole lot better, and I prefer that they are whole grain. I made these larger since I wanted to use them as hamburger buns. They were perfect and I would not change a thing in this recipe.

Sourdough Whole Spelt Herb Buns:
  • 3 Cups Spelt Flour (Freshly Ground)
  • 1 Cup Sourdough Starter
  • 1/2 Cup Buttermilk
  • 1 Egg
  • 2 Tablespoons Butter
  • 2 Tablespoons Honey
  • 1 Tablespoon Sea Salt
  • 1 Tablespoon Italian Seasoning
  • 1 Teaspoon Garlic Powder
  • 1 Teaspoon Onion Powder
  • 1/2 Teaspoon White Pepper
For Topping:
  • 1 Tablespoon Dried Minced Onion
  • 1/2 Teaspoon Black Sea Salt

Method:

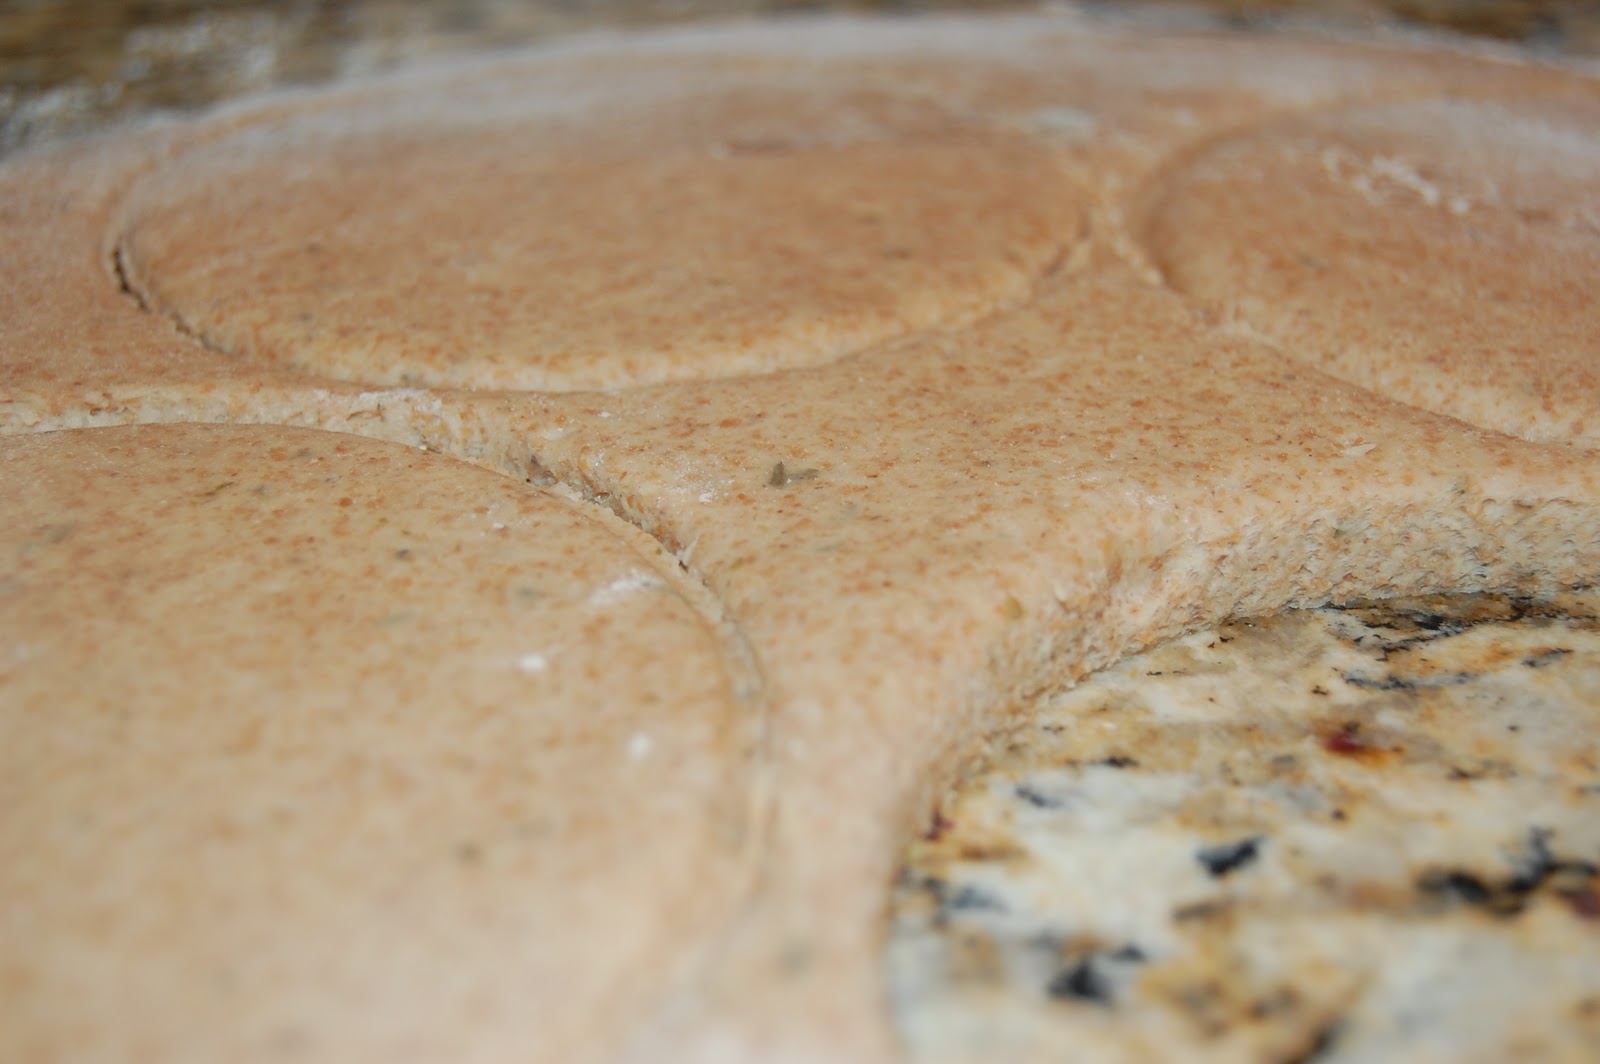
Take ingredients and mix together to form dough (for more details see roll post). At this point you can wrap in plastic and store in the refrigerator for up to 24 hours for a more sour dough (which is what I did) or it can be used right away. Roll dough out until it is about 1/2 inch thick. Cut into rounds.


Place cut outs onto parchment paper lined baking/cookie sheet.


In a bowl mix together dried onion and sea salt.


Mix together and spread evenly on top of the buns.


Allow dough to rise until it has almost doubled, then place into the oven at 350 degrees for about 20 minutes.


Like us on Facebook to get timely updates right in your news feed!

Sunday, December 5, 2010

Simple Pleasures : First Snow


Simple Pleasures : First Snow

Last night we had the first snow flurries of the year. Interestingly, for as long as I have known my husband (6 years) it has all but once snowed right around his birthday - which is today! There is something magical about the first snow of the year. So white, so fresh, so beautiful. We woke up this morning to a small dusting of snow that ever so slightly covered our yard. It was so lovely that I wanted to share.


Like us on Facebook to get timely updates right in your news feed!

Saturday, December 4, 2010

Healthy Chicken Pot Pie


My friend Linda has been one of my biggest cheerleaders since I started this blog. Even before starting the blog, she and I had great talks about nutrition. Recently she asked me if I could take a recipe that her husband loved, but was unhealthy (made with white flour and sodium/msg filled bouillon cubes - among other things) and remake it. I jumped at the chance. It was actually a lot of fun. I think the new recipe is not only healthier but probably a whole lot tastier! The result is a gluten free, grain free and dairy free dish that I think anyone can enjoy. If you are hesitant to make the change, or think your family will not like it as much, why not just try the new filling first. After they decide they like that you could tackle the crust if you wish.

Healthy Chicken Pot Pie

For the Filling:
  • 2 Cups Chicken (chopped)
  • 1.5 Cup Chicken Broth (homemade is best!)
  • 2 Cups Diced Sweet Potatoes
  • 2 Small Onions
  • 2 Celery Stalks
  • 1 Clove of Garlic
  • 1 Tablespoon Coconut Oil
  • 1 Tablespoon Arrowroot Powder
  • 1 Tablespoon Parsley
  • 1 Teaspoon Sea Salt
  • 1 Teaspoon Poultry Seasoning
  • 1 Teaspoon All Purpose Seasoning
  • 1/2 Teaspoon White Pepper
For the Crust
(Adapted from a recipe by Elana Amsterdam in The Gluten-Free Almond Flour Cookbook)
  • 2 Cups Blanched Almond Flour
  • 1/4 Cup Water
  • 1 Teaspoon Coconut Oil (melted)
  • 1 Teaspoon Parsley
  • 1 Teaspoon All Purpose Seasoning
  • 1/2 Teaspoon Sea Salt
  • 1/2 Teaspoon Baking Soda

Method:

Chop up all of your vegetables.


In a pan add the coconut oil. Cook the onions until soft. Add the garlic, celery and sweet potatoes.


Measure out the spices.


Add the chicken stock and spices to your vegetable mixture.


Continue cooking on low.


Meanwhile turn your attention to the crust. In a bowl combine all ingredients.


 Divide mixture in half. Take half and form into a ball. Put the other half into the refrigerator for later use. Place the ball between two sheets of wax paper/parchment paper. Roll into a circle.


Press the mixture into standard size pie plate. * Note: if you have problems with the dough falling apart it may be too warm, place in the fridge or freezer for a few minutes and try again.


Cook at 375 for 15 minutes until slightly brown. After the vegetable mixture has been cooking for about 10 minutes and has started to reduce add chicken.


Mix together arrowroot powder with equal portion of water.


Pour the arrowroot mixture into the pie filling.


Mix together.


Take pie crust out of the oven. Spoon reduced filling into the crust.


Take the remaining dough and roll into another circle. Place on top of the pie plate, cut off extra dough around edges.


 Put on top of a cookie sheet and place into the oven at 375 degree for 35 minutes.


Remove from oven and let cool for a few minutes before serving. Enjoy!


I submitted this recipe to Monday Mania, check it out for other great recipes from real food bloggers!


Like us on Facebook to get timely updates right in your news feed!

Thursday, December 2, 2010

Roasted Green Beans and Grape Tomatoes topped with Romano Cheese


Sometimes some of the best recipes are simple. The first time I had something similar to this dish was when a former co-worked invited my husband and I over for dinner. She made it with asparagus and Parmesan, but the idea was the same. She told me her favorite thing about this dish was that the little cherry or grape tomatoes almost burst into your mouth. I have agree with her! Since I am roasting a chicken for dinner tonight this was the perfect side dish - it can go right in the oven beside your chicken for cooking.


Roasted Green Beans and Grape Tomatoes topped with Romano Cheese
  • 1 Package Green Beans
  • Two Handfulls of Grape (or Cherry) Tomatoes
  • 1/4 Cup of Grated Romano Chese
  • 1 Tablespoon Coconut Oil
  • 1 Clove of Garlic
  • Sea Salt and Pepper to Taste

Method:

Take green beans and cut of the ends. Set aside. Finely chop garlic and set aside.


In an oven safe dish add coconut oil. Add green beans and tomatoes. Mix well. Salt and Pepper to taste.


Place into a 400 degree oven for about 20 minutes until green beans start to brown.Remove from the oven and add the Romano cheese to the top.


Place back the oven for about 5 minutes until the Romano starts to melt. Serve and enjoy!


This dish is perfect to make with the roasted chicken since the oven is already on 400 degrees.


Like us on Facebook to get timely updates right in your news feed!

Easy Roasted Chicken


Many people shy away from buying a whole chicken. They think roasting it would be difficult or that they do not have time. This is a quick, easy and delicious way to roast a chicken. Even if you have never done it before, I assure you that you can do this. Besides, the cheapest way to buy a chicken is whole. When you are eating all organic food, as my family does, this is another way to get the most bang for your buck. Not only can you eat the chicken, but you can make chicken broth from the leftovers.

Easy Roasted Chicken:
  • 1 Chicken (mine was 3.84 lbs)
  • 1 Lemon
  • 1 Tablespoon of Butter
  • 1 Teaspoon Sea Salt
  • 1 Teaspoon Garlic Powder
  • 1 Teaspoon All Purpose Seasoning
  • Coconut Oil for Cooking
For a Light Gravy:
  • 1 Tablespoon Arrowroot Powder
  • 1 Tablespoon Water
  • Drippings from the Chicken

Method:

Slightly melt butter in dish. Add spices and the juice of the lemon. Reserve the rest of the lemon. Set aside.
Take the chicken out of the packaging. Reach inside the cavity and take out any contents (there may be a neck). Rinse the chicken well. Pat dry with a paper towel. Stuff leftover lemon inside the cavity.Preheat oven to 400 degrees. Lightly grease your pot. Take chicken and place in your oven safe pot, pan or roasting dish (I am using my cast iron pot). Brush on half of the butter mixture and reserve the rest. Set timer for 45 minutes.


After 45 minutes you will flip the chicken. The reason we are doing this is so that the chicken cooks evenly and also so that the juices will be distributed evenly through the chicken. If this intimidates you, skip it. The chicken will still turn out ok! Set your timer for 45 more minutes.


Halfway done!

Chicken should be golden brown and have an internal temperature of 165 degrees or more, and when the juices run clear, to be done.


 Let the chicken rest for a little bit before you cut it up and serve.


For making a light gravy, take the arrowroot powder and mix with some water until dissolved.


Place in the pan with the drippings whisking briskly. Do not turn the heat back on, the heat in the pan is enough. Unlike other thickeners, arrowroot powder does better at lower heat.


Strain gravy and place in a serving dish.


Drizzle onto chicken and serve.


Like us on Facebook to get timely updates right in your news feed!
Related Posts Plugin for WordPress, Blogger...